
Why Most Home Emergency Kits Fail When They're Needed
The most common emergency preparedness failure isn't the absence of a kit - it's having one that can't actually be used. Kits get buried under seasonal storage, stocked with foods nobody in the household eats, or assembled once and forgotten for years. When an emergency arrives, a disorganized or expired kit adds stress rather than reducing it.
A functional kit is built around your specific household, stored where you can reach it quickly, and maintained regularly. It treats preparedness as a practical household system - not a fear-driven purchase. Just as financial resilience requires more than a single savings deposit (see why an emergency fund is a floor, not a goal), a physical emergency kit requires ongoing attention to remain effective.
Build Gradually to Stay on Budget
You don't need to assemble your entire kit in one shopping trip. Adding a few items per week keeps costs manageable and prevents decision fatigue. If budgeting is a concern, see the budgeting basics hub for practical approaches to spreading the expense.
What to Stock, Where to Store It, and How to Keep It Ready
Effective emergency kits follow a layered structure: water and food form the foundation, medications and first-aid supplies come next, and documents plus communication tools complete the core. Everything else - comfort items, tools, pet supplies - should be added based on your household's genuine needs rather than generic checklists.
Storage is not a secondary concern. For guidance on how to avoid overstocking and wasted space more broadly, managing closet inventory without overfilling it offers a useful parallel. The same principles - assess actual use, store accessibly, rotate regularly - apply directly to emergency supplies.
Once your kit is established, integrate it into your broader home maintenance awareness. The complete guide to home maintenance supplies covers the safety equipment and repair consumables that complement emergency preparedness at the household level.
What you will need
Large, lidded plastic storage bins
Keeps supplies contained, organized, and protected from moisture - use clearly labeled, stackable containers.
Waterproof document pouch
Protects copies of critical documents (IDs, insurance cards, prescriptions) from water damage.
Hand-crank or battery-powered flashlight
Provides reliable lighting during power outages without dependence on phone batteries.
Portable battery bank (power bank)
Allows basic phone and device charging when grid power is unavailable.
Manual can opener
Essential for accessing canned food when electric appliances won't function.
Basic first-aid kit
Covers wound care, bandaging, and common over-the-counter needs for minor injuries during an emergency.
Assess your household's specific needs
Before purchasing anything, make a list of who the kit is for - including children, elderly members, and pets - and what conditions or medications are involved. A kit for a household with an infant looks very different from one for two adults. Note any dietary restrictions, mobility limitations, or medical devices that require power. This assessment prevents you from building a generic kit that doesn't actually serve your family. For a broader framework on separating genuine essentials from clutter, see what makes a household supply essential.
Stock water and food for at least 72 hours
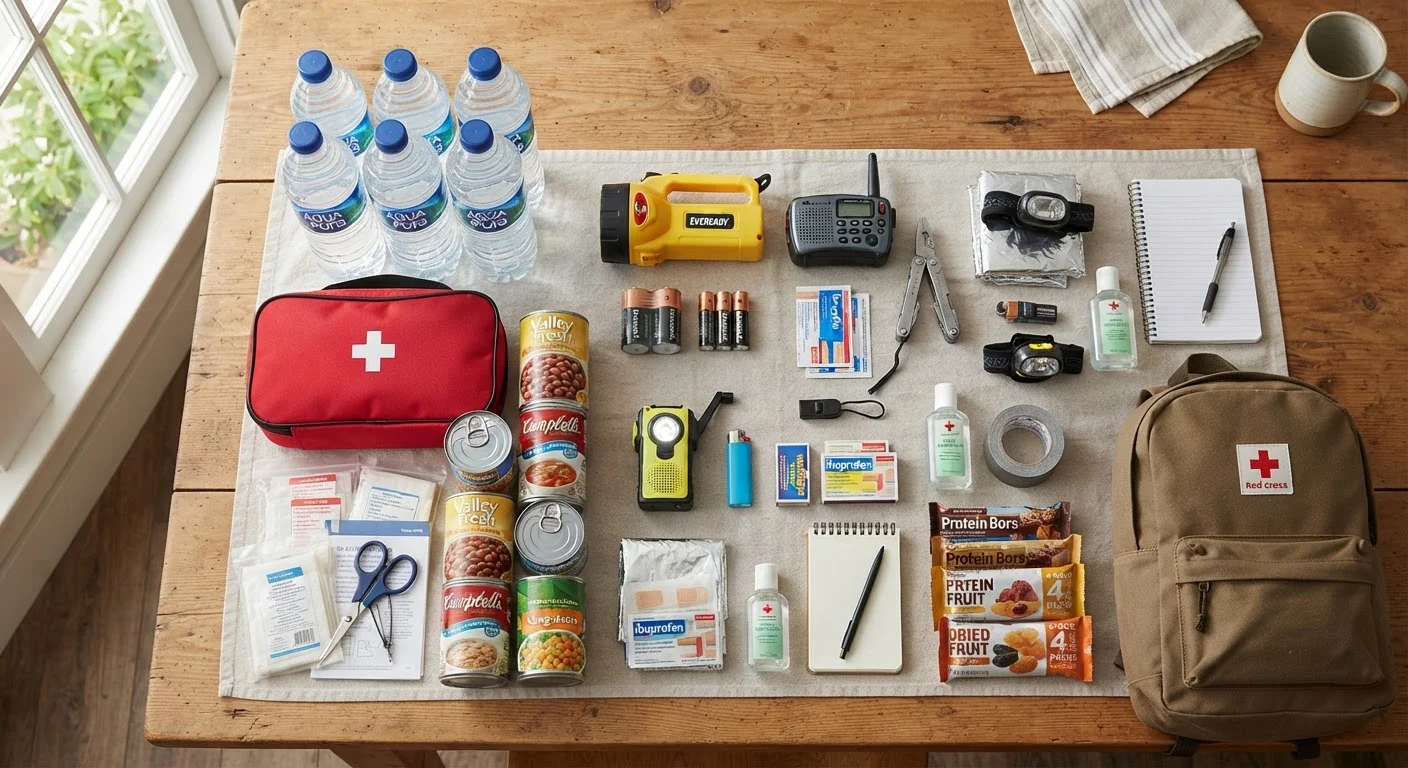
Emergency management guidance generally recommends storing at least one gallon of water per person per day, with a three-day minimum as a floor. Store water in food-grade sealed containers away from direct light. For food, focus on shelf-stable items your household already eats - canned goods, nut butters, crackers, dried fruit, and ready-to-eat meals. Avoid the trap of stocking foods that require extensive preparation or refrigeration. Include a manual can opener.
Build a medications and first-aid layer
Gather a basic first-aid kit covering bandages, antiseptic wipes, adhesive tape, gauze, and over-the-counter pain relief. Add any household-specific items: an EpiPen if allergies are a concern, a blood pressure cuff if monitoring is needed, or spare glasses. For prescription medications, speak with your physician or pharmacist about safely maintaining a small emergency backup supply. Keep all medications in original, labeled containers.
[important_callout]Prepare critical documents and communication tools
Place photocopies of important documents - government-issued IDs, insurance cards, medical records, bank account information, and emergency contacts - in a waterproof pouch inside your kit. Include a battery-powered or hand-crank NOAA weather radio so you can receive official alerts without relying on cellular networks. A charged power bank ensures your phone stays functional long enough to communicate with family members or access emergency instructions.
Choose the right container and storage location
A kit that's buried in the back of a crawl space is not a usable kit. Use clearly labeled, lidded plastic bins that are large enough to hold supplies but light enough to move quickly. Store your primary kit in an accessible interior location - a hall closet, under a bed, or near a garage door. If your household has multiple floors, consider a smaller secondary kit upstairs. The room-by-room home essentials checklist can help you identify the best placement spots throughout your home.
Schedule biannual maintenance reviews
Set a recurring calendar reminder - many households tie this to daylight saving time changes - to open and inspect the kit. Check expiration dates on food, water, and medications. Replace anything outdated, test batteries and devices, and update documents if insurance, contact information, or medical needs have changed. Emergency preparedness is not a one-time purchase; it is an ongoing habit.
[warning_callout]